They dismissed it. They ignored it. But the evidence doesn't lie. This is where I lay bare the definitive proof – the documents, the patterns, the undeniable facts – that expose the culprits of the Gardner Heist and the systemic cover-up that has protected them for too long.
Click the images below to view them as booklets
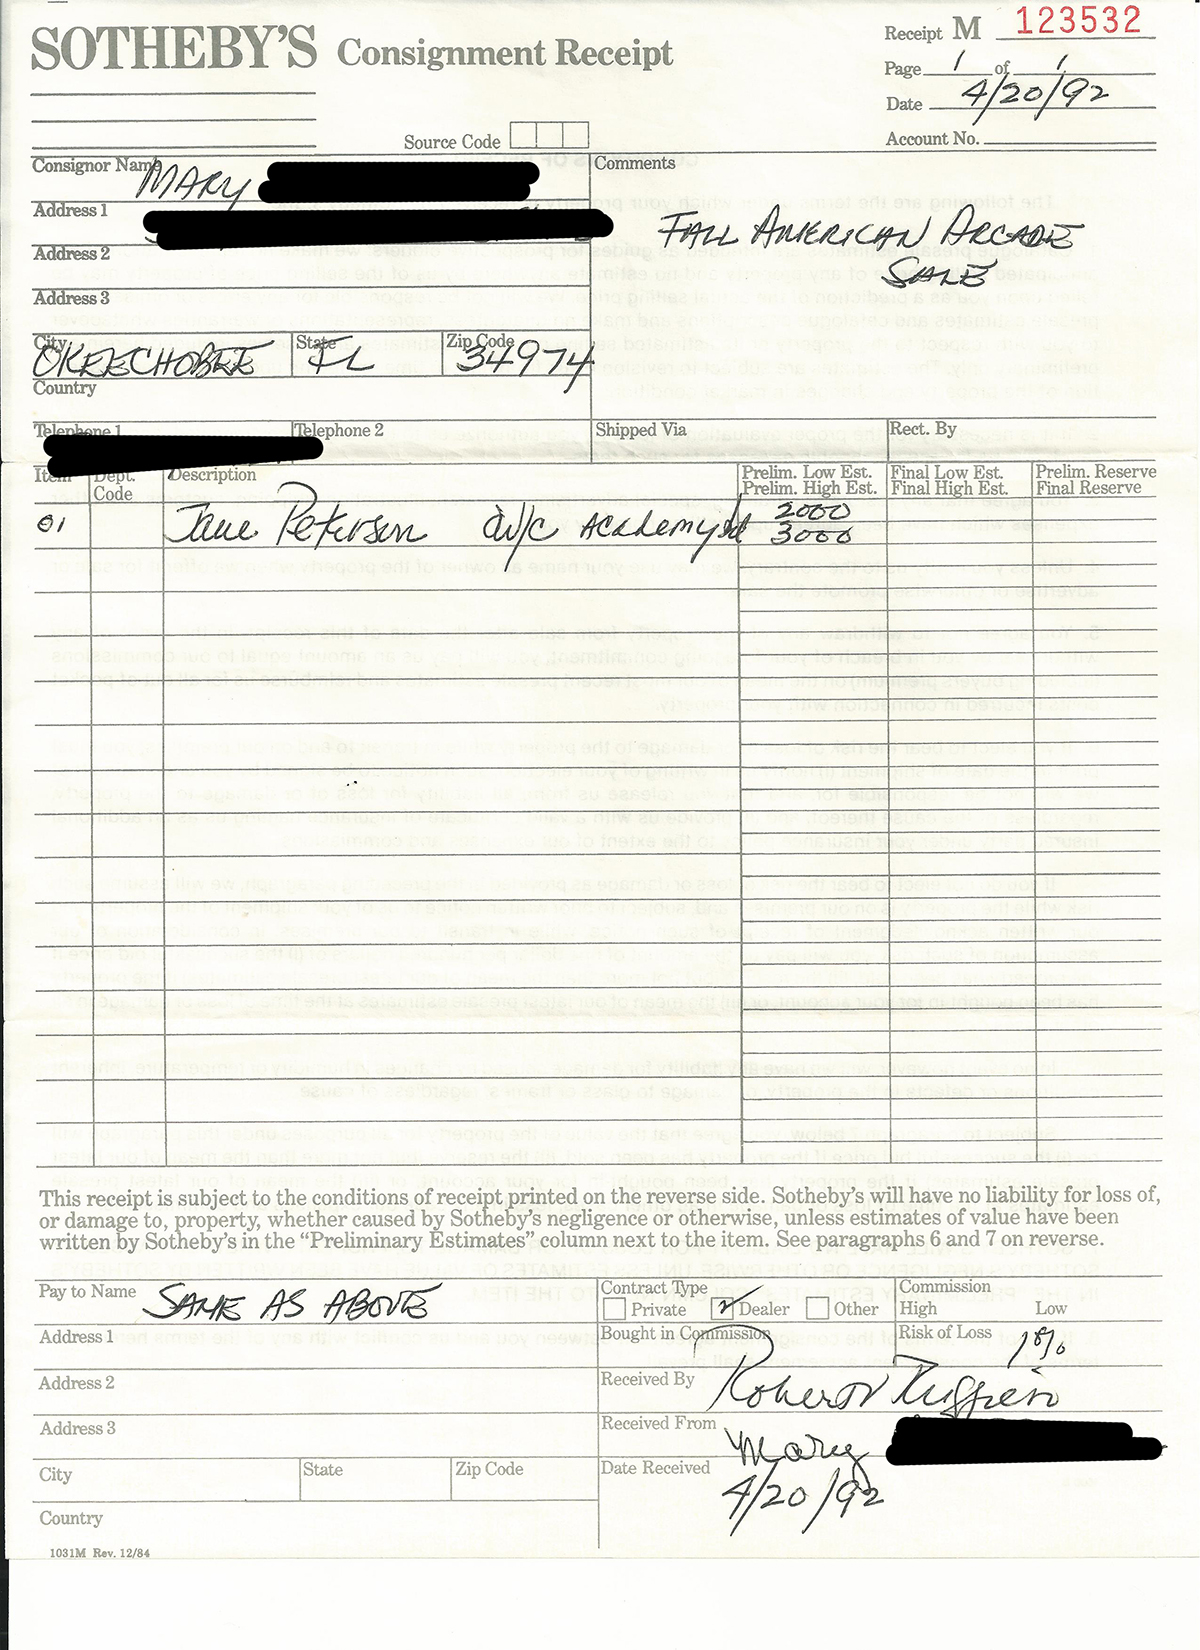
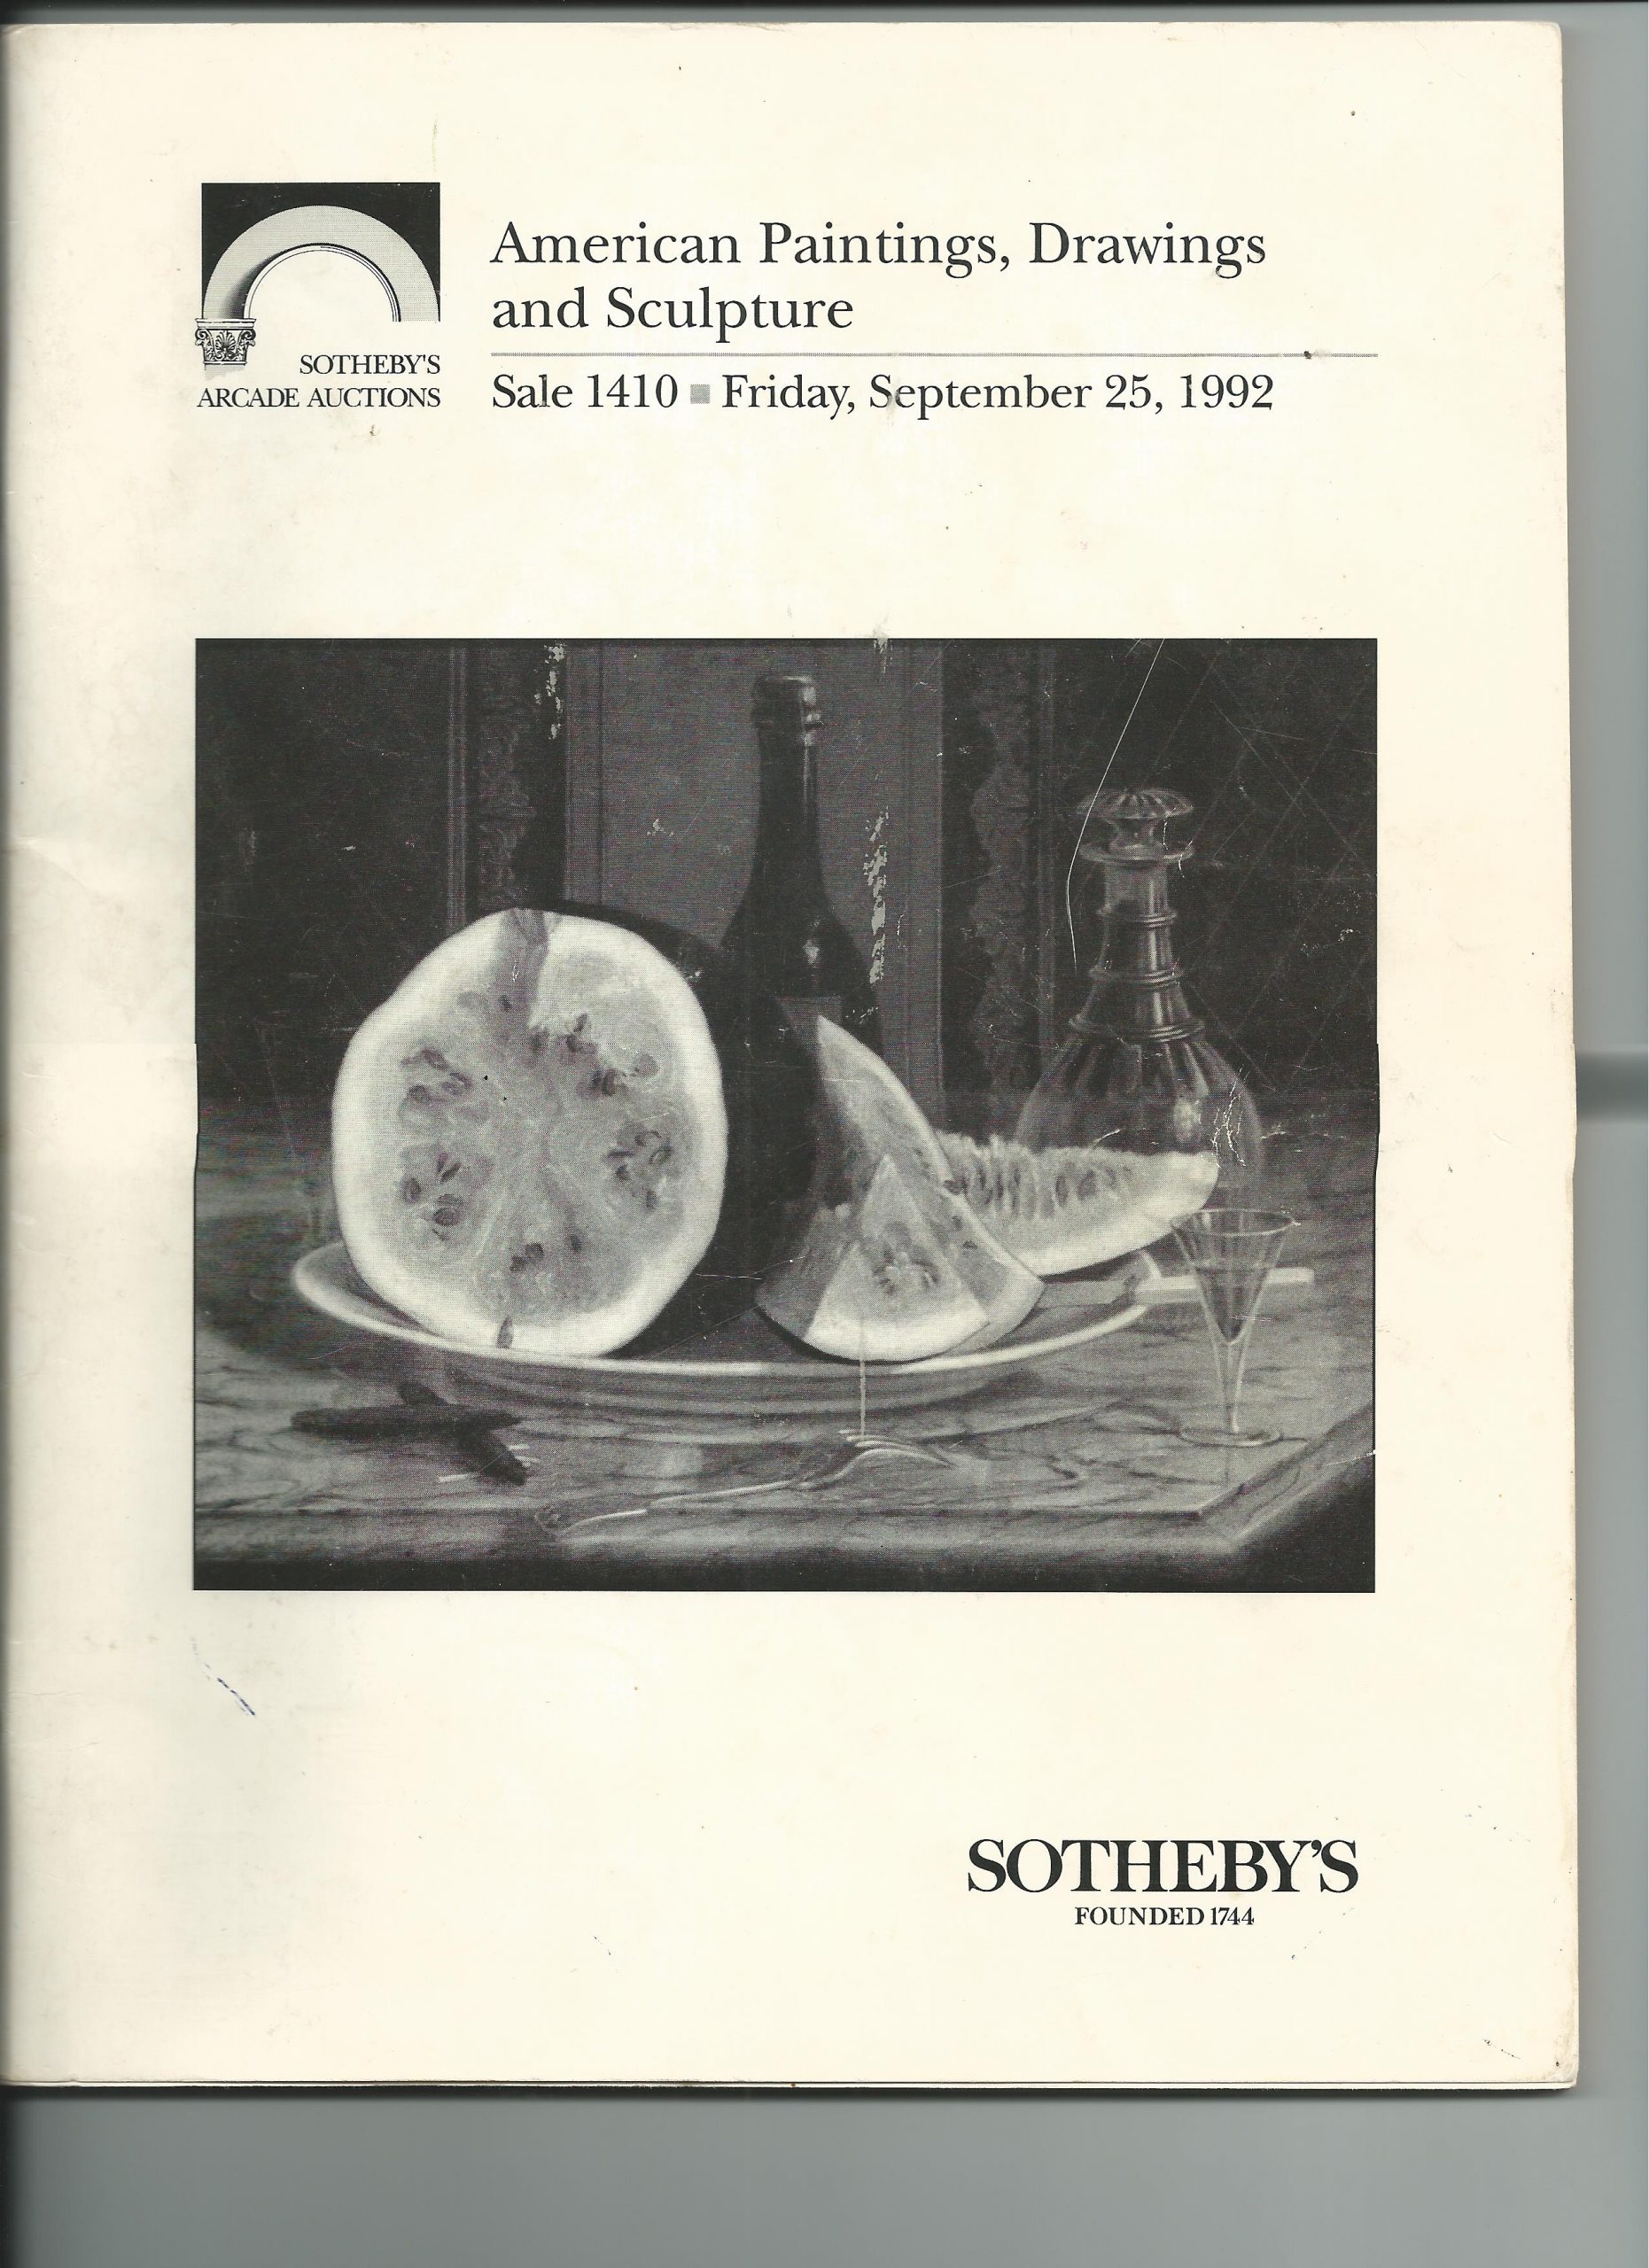
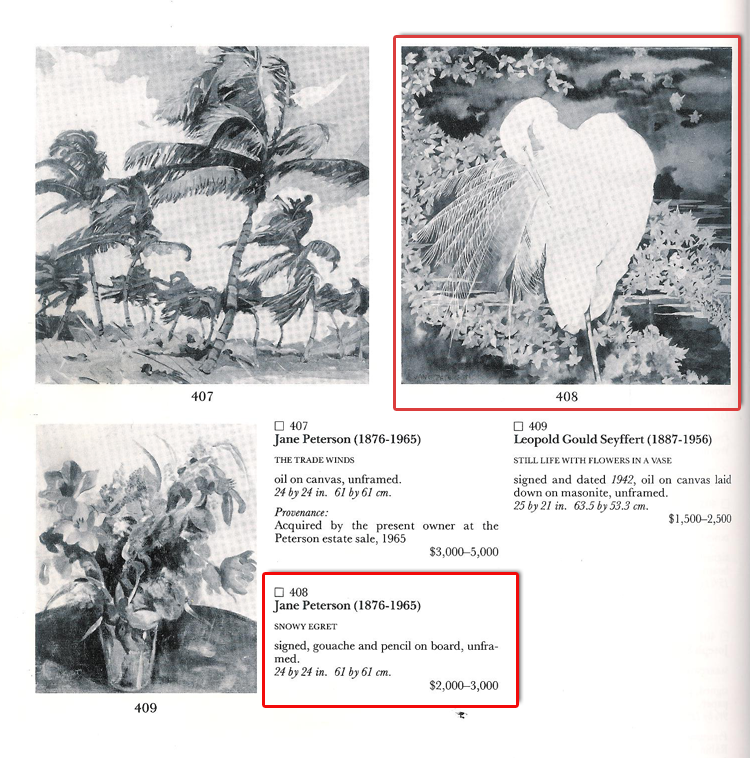
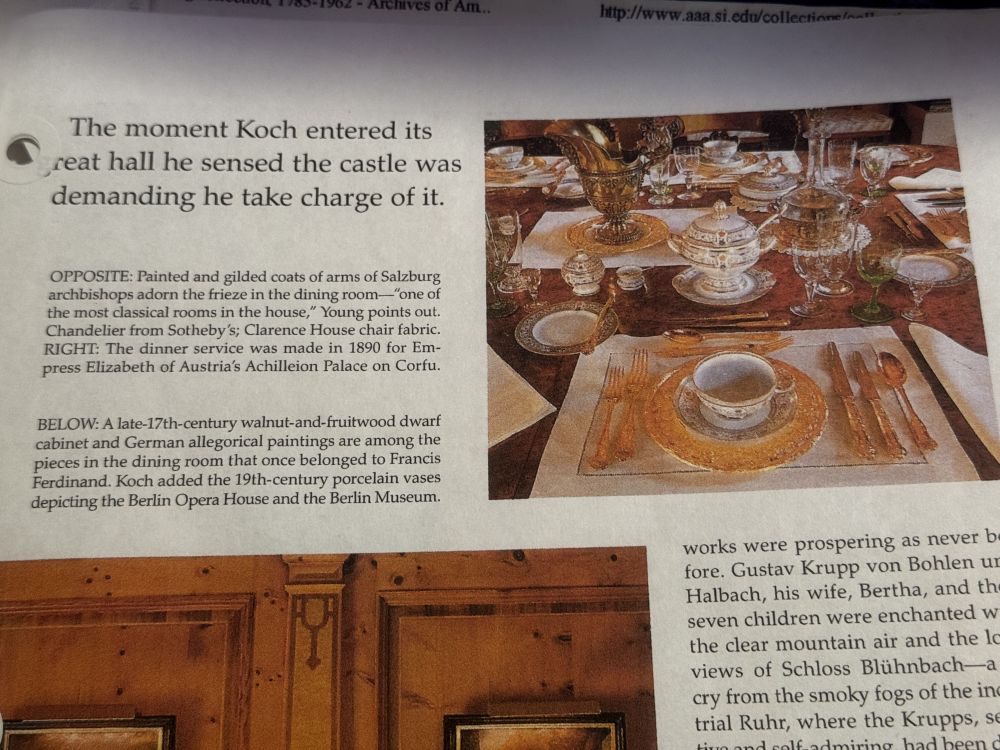
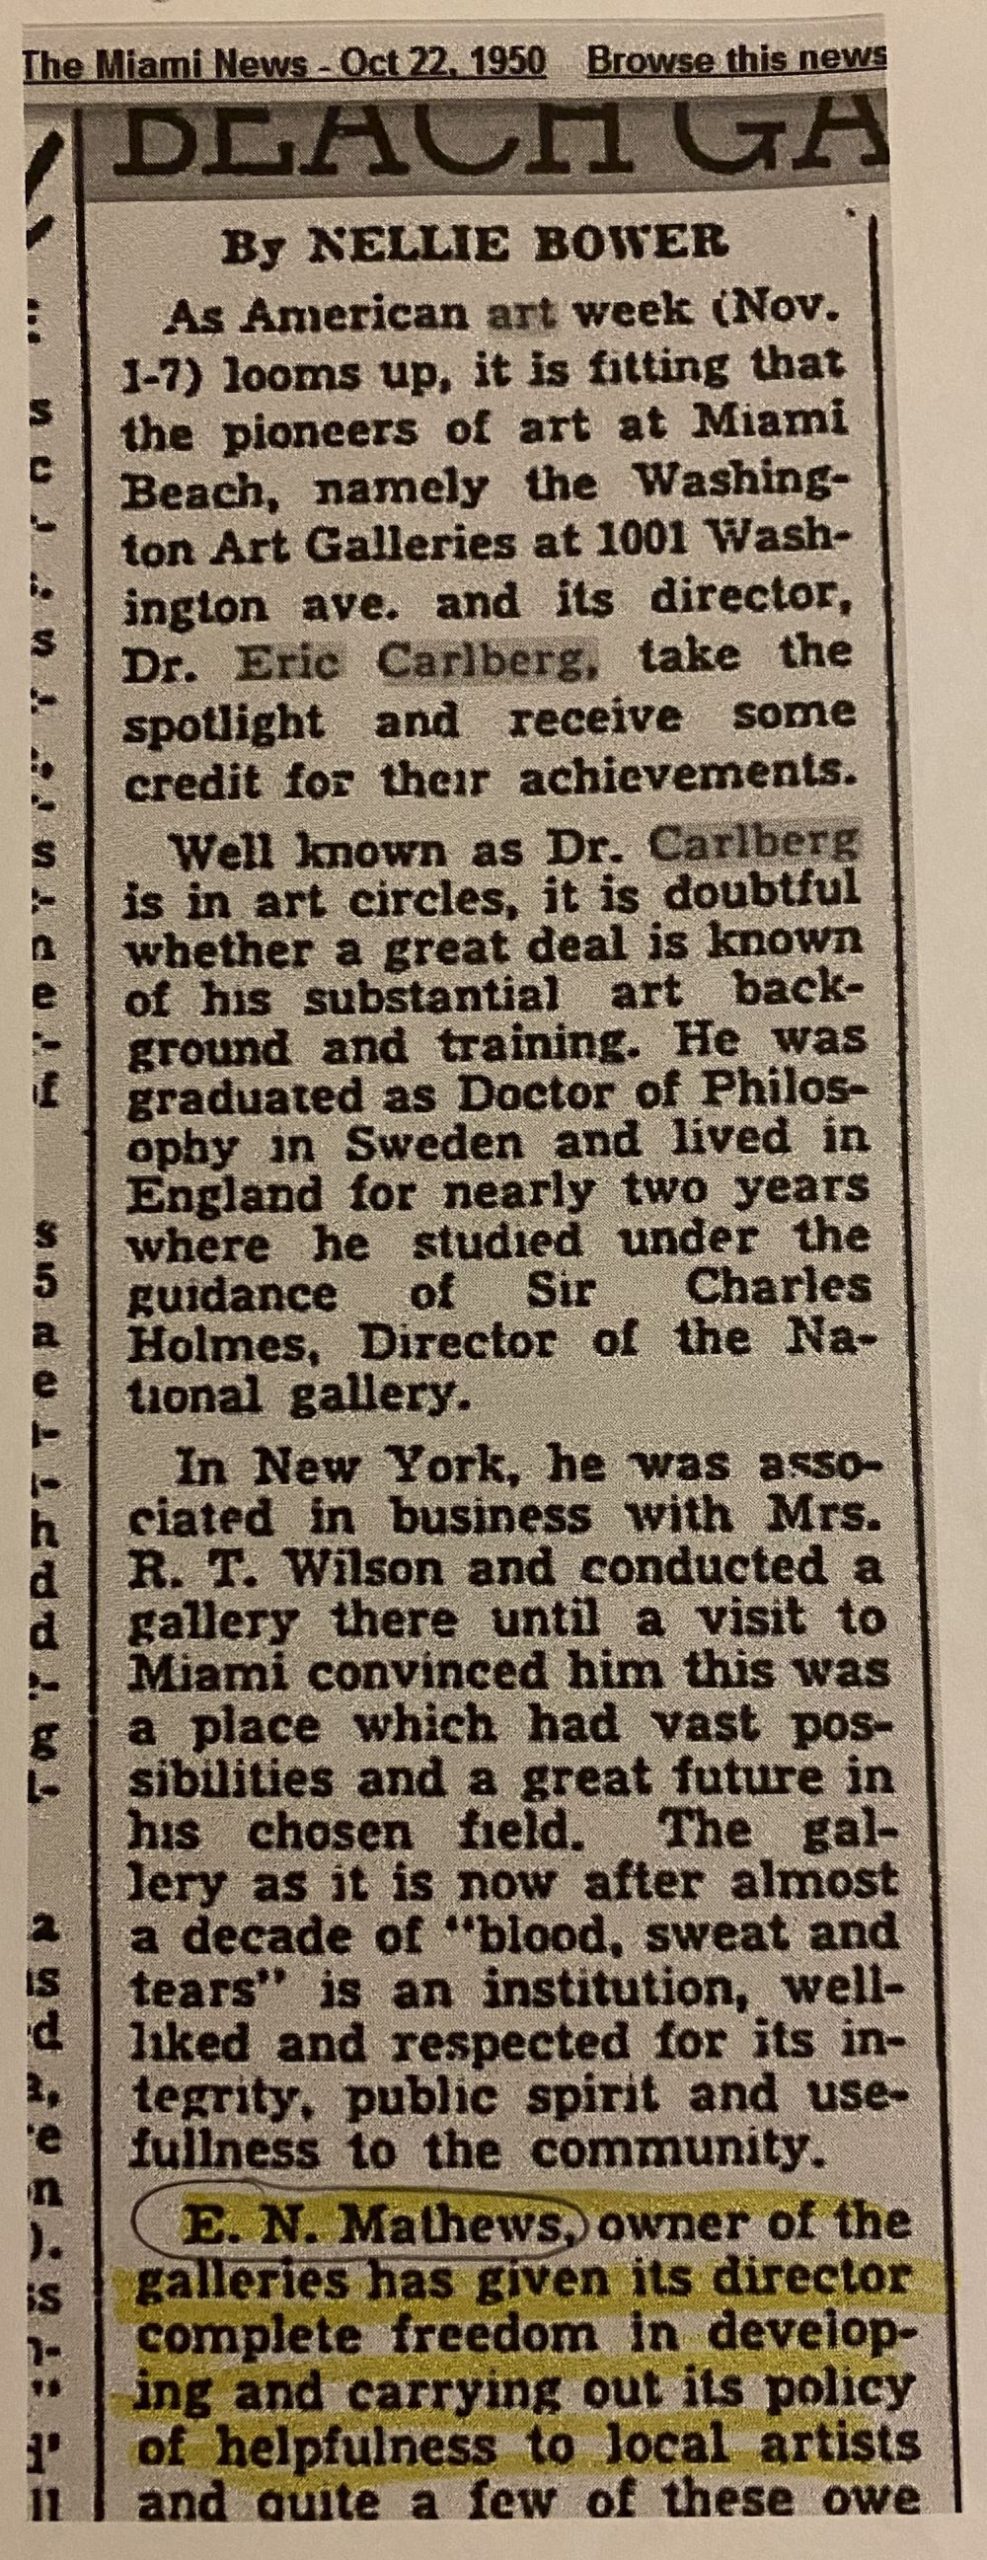
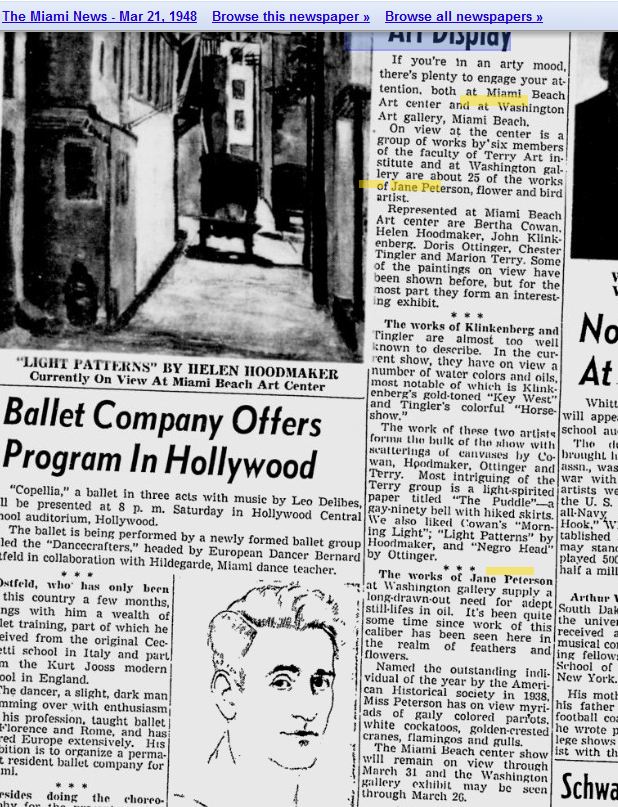
Episode 1: Unveiling Mary’s Story and Koch’s Deception
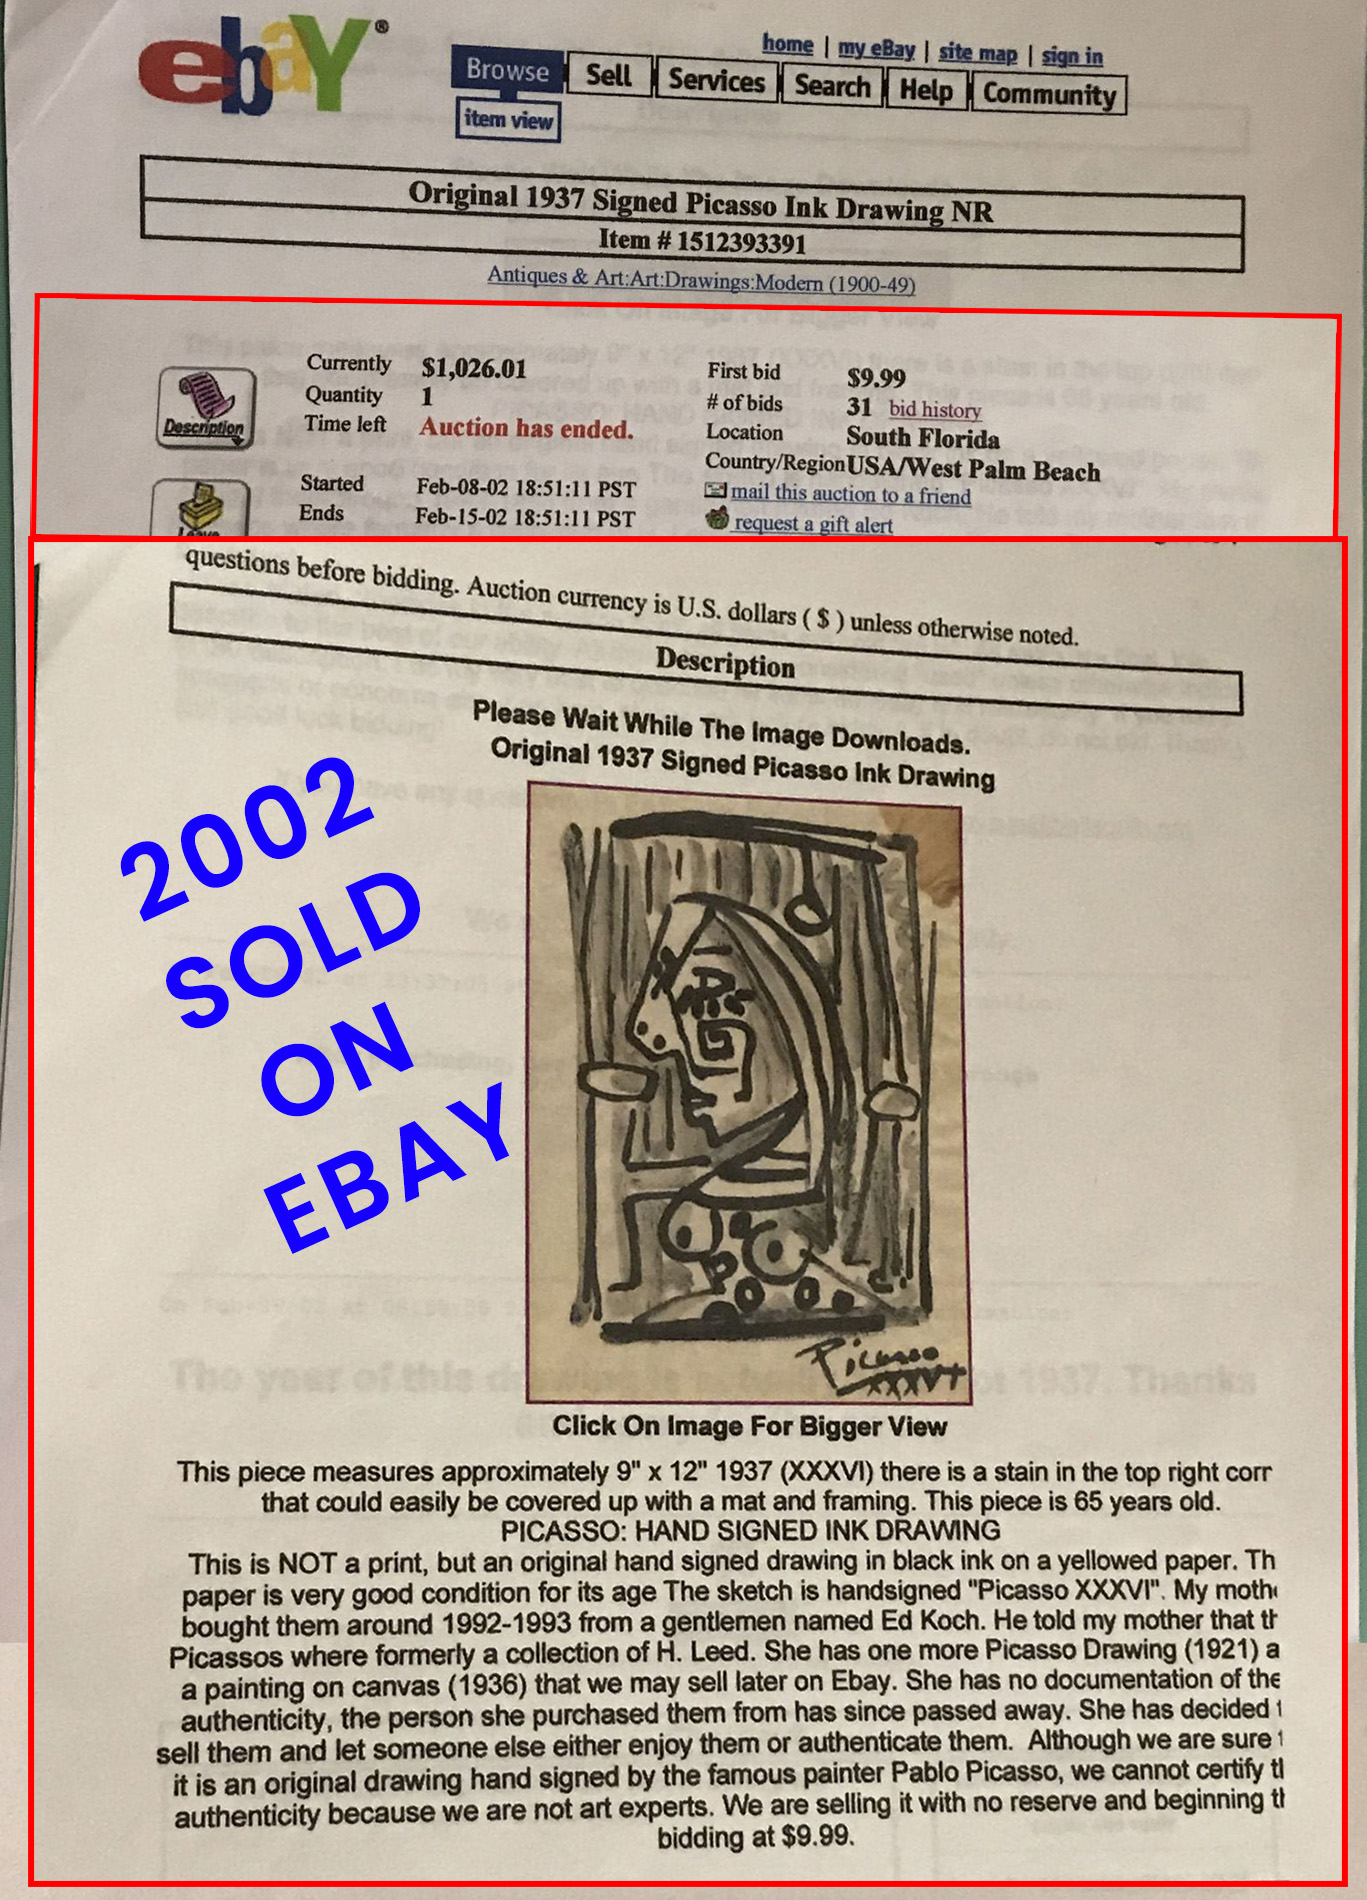
Artwork sold to Mary had damage from fire at art storage warehouse – tied to James Bourlet & Sons fire. Julian Radcliffe states “known destroyed art has been known to be forged“. This artwork wasn’t destroyed…
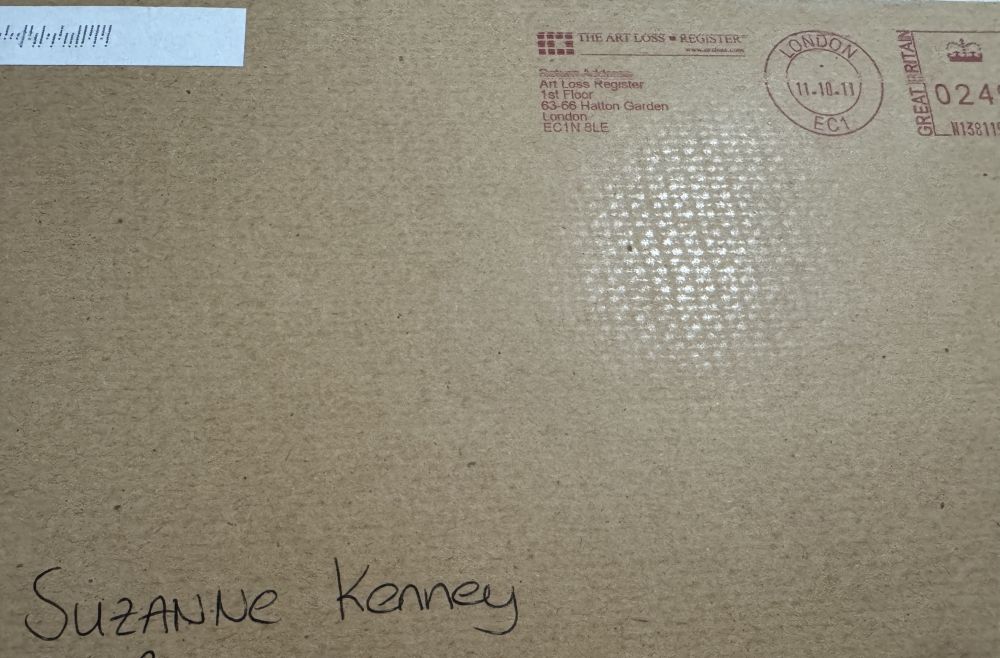
Julian Radcliffe returns Calder’s to me. Here a photo of the envelope. Why would you return the drawings if you thought they were forgeries of known destroyed artwork?
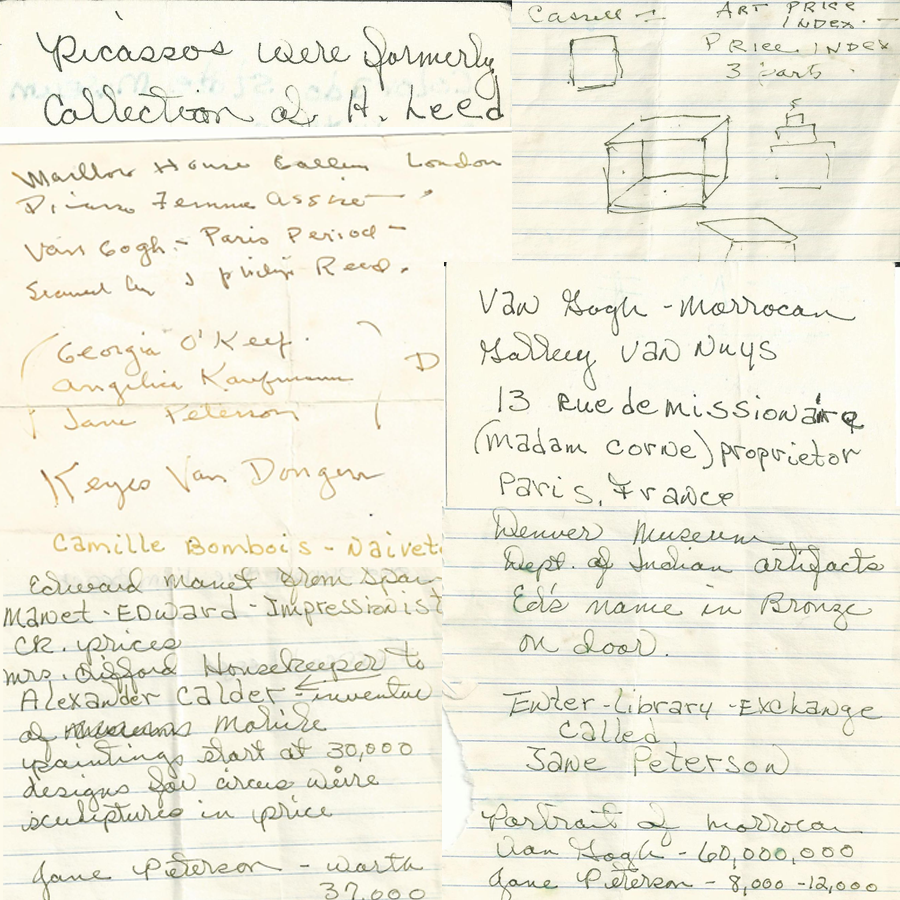
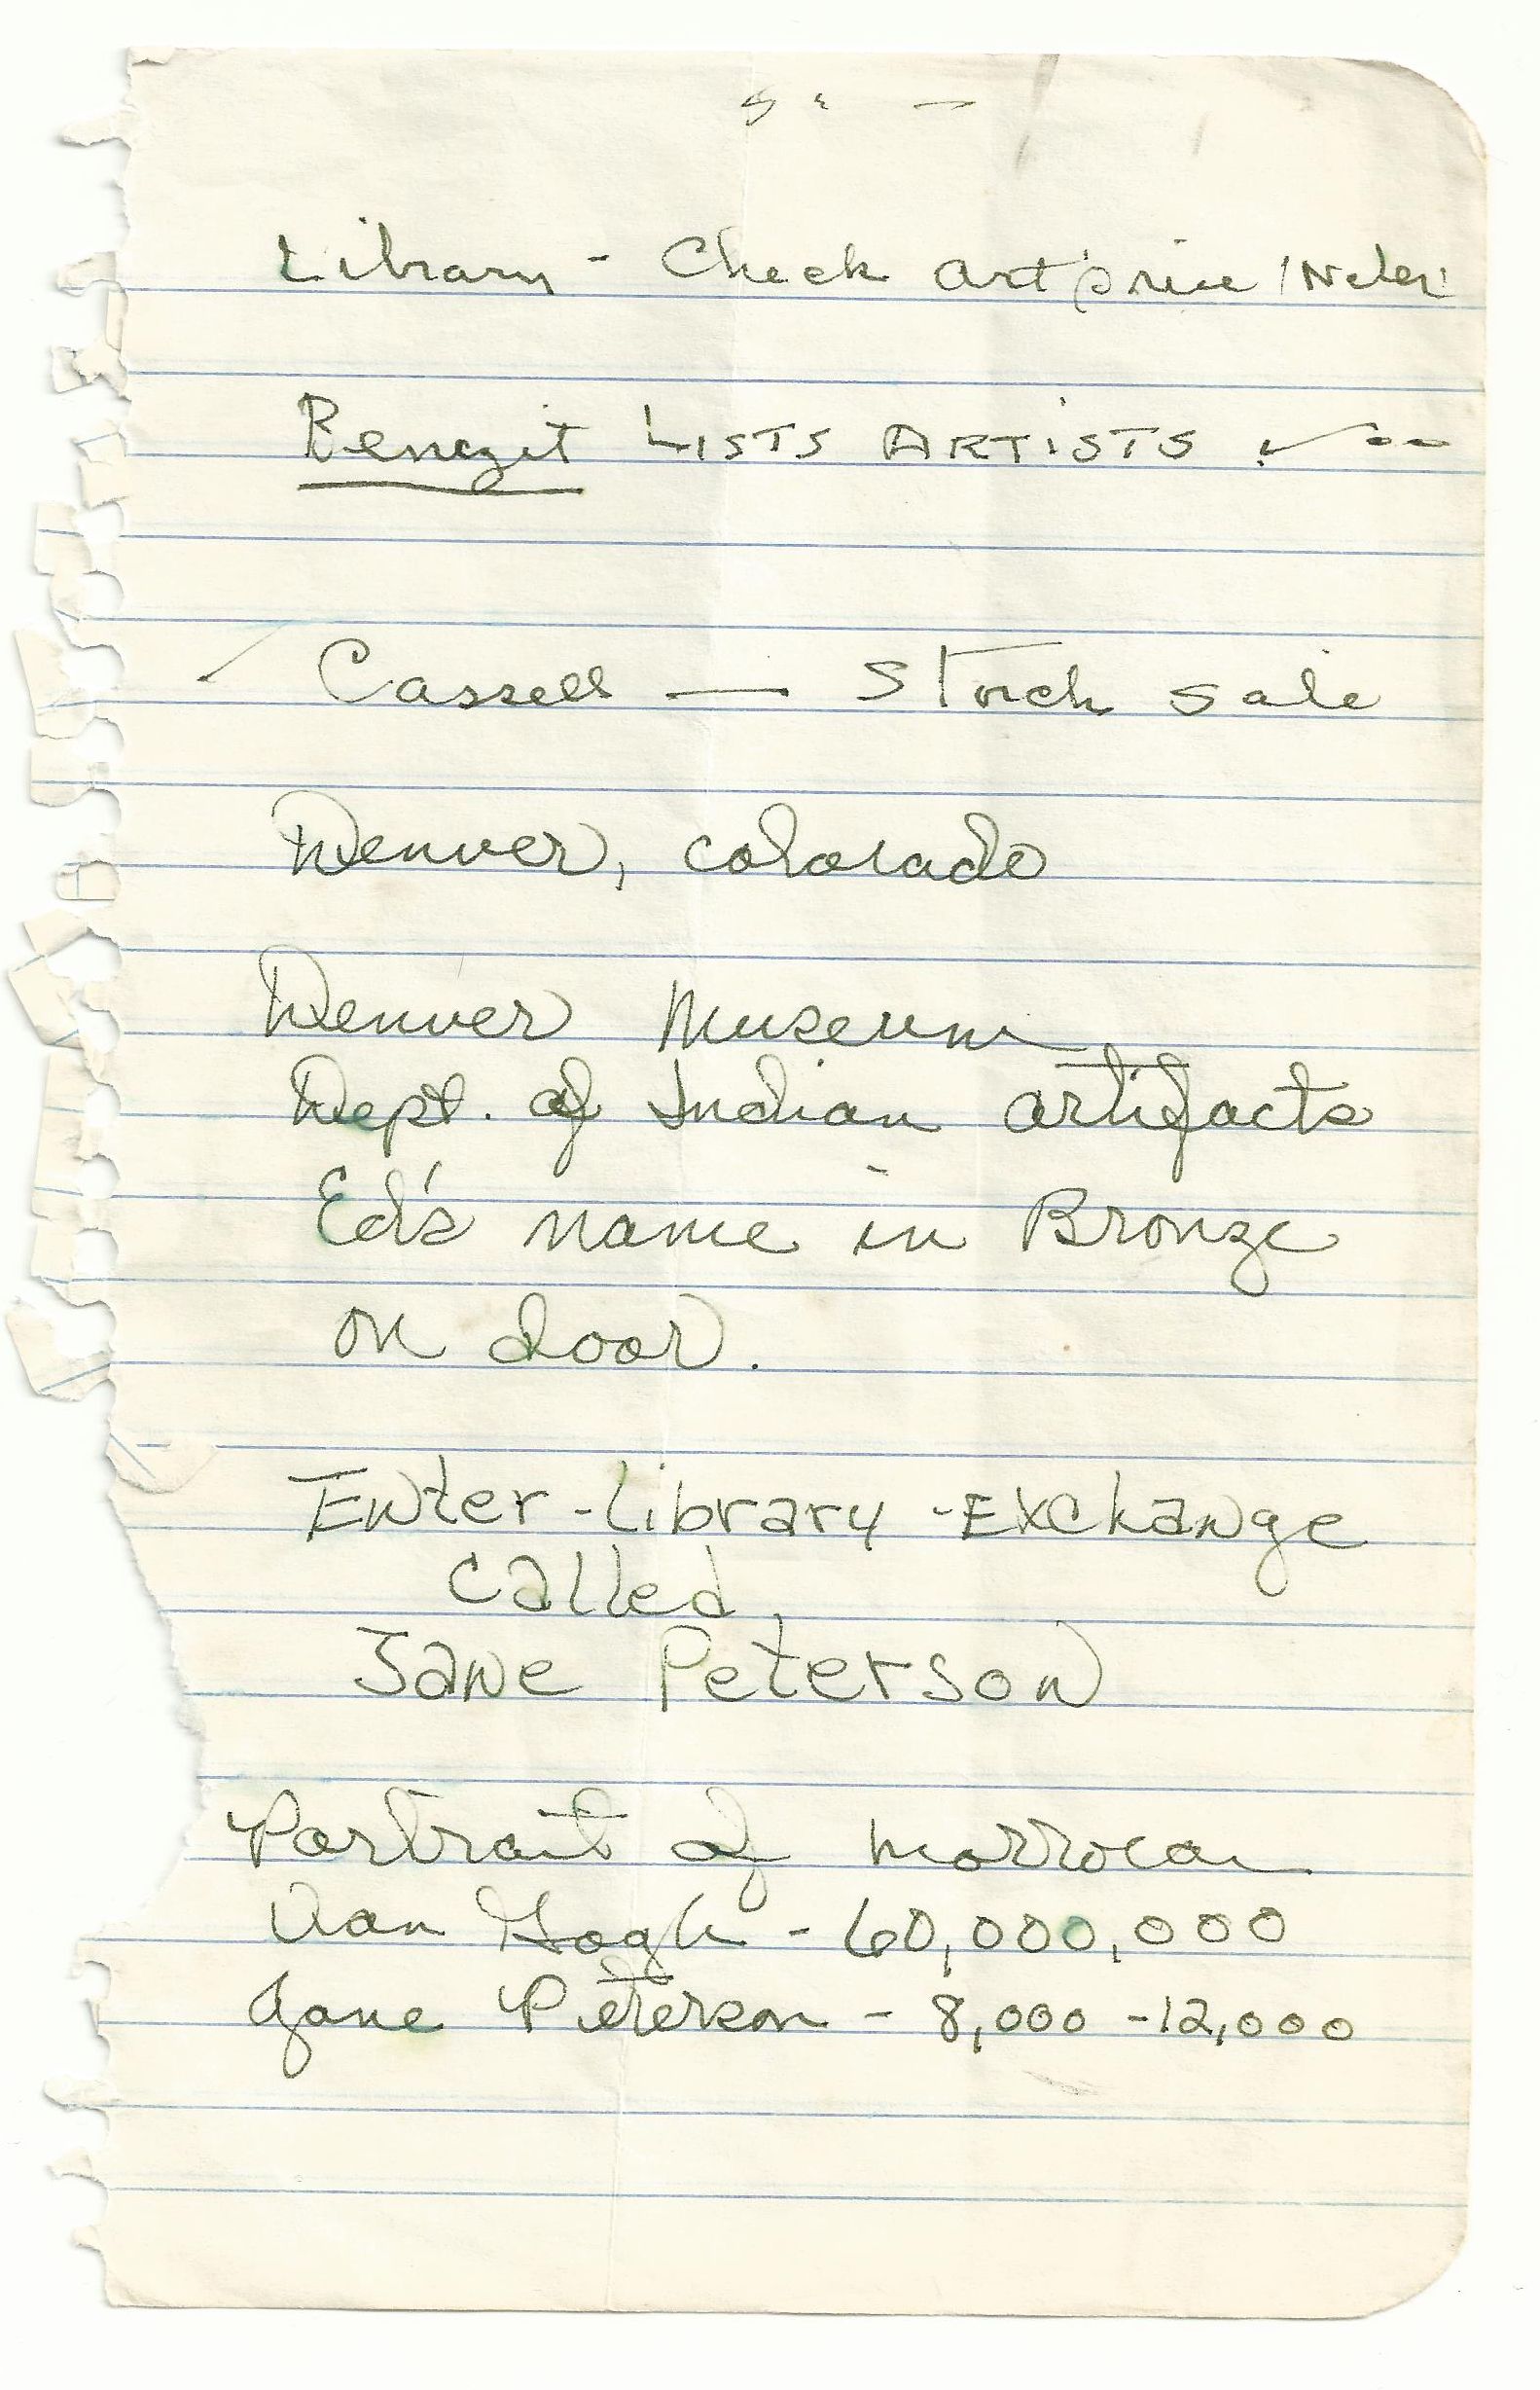
On the Board of Directors at Frick Library, Frick Library is mentioned in notes.
According to the AI, gemini and Grok, no one can make this up—the intricate web of evidence, defies fabrication.
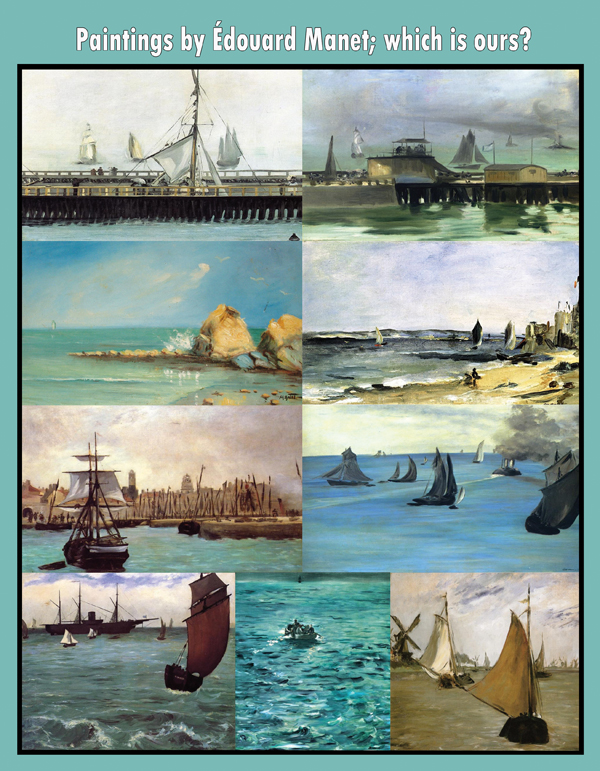
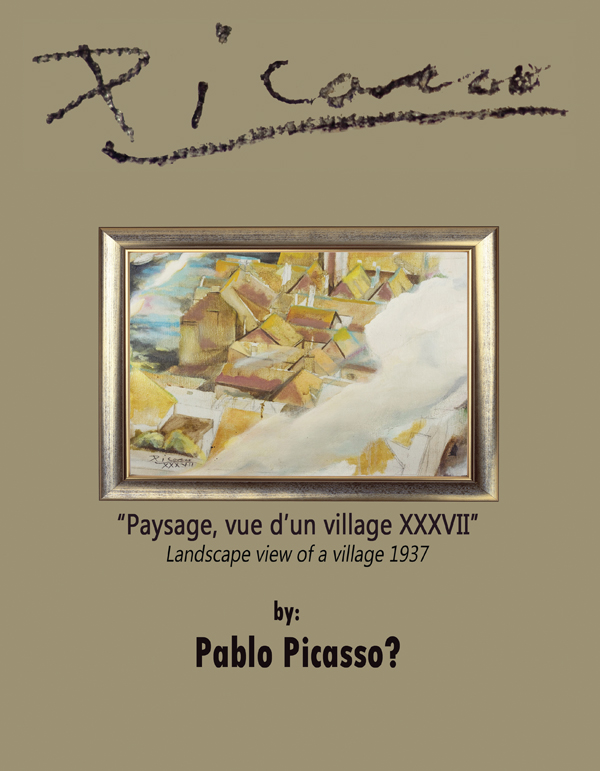
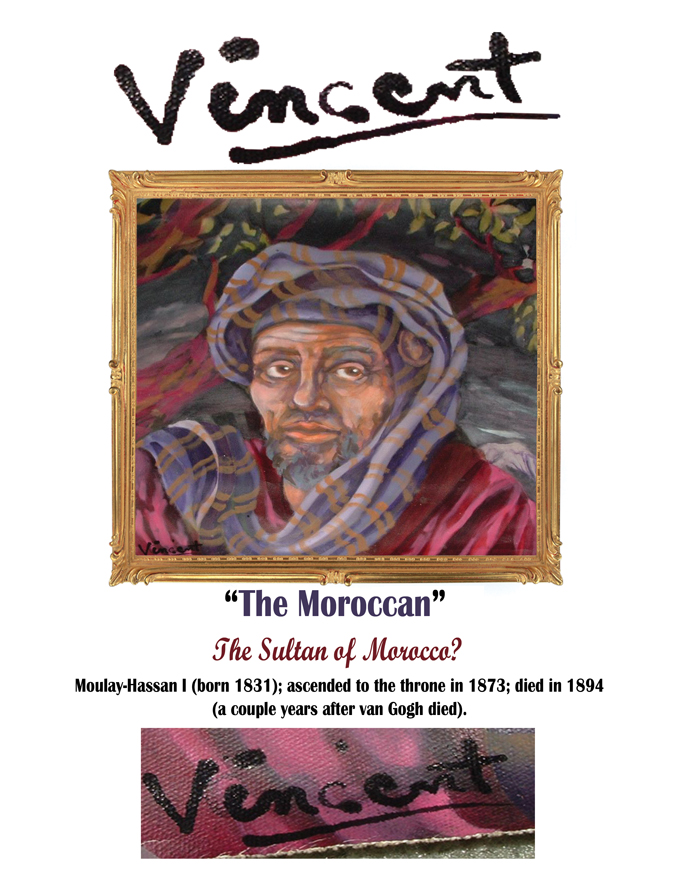
The Checklist (artworks mirroring Gardner heist pieces)
Wikipedia (monitored by John Olsen, omits Koch’s art collection, per Godfrey Barker article (scanned printout of Godfrey Barker article), hiding connections to my mother). They know from the notes where I will be researching. They know how to cover up their tracks. If you did these crimes and had this wealth, you could cover this up too.
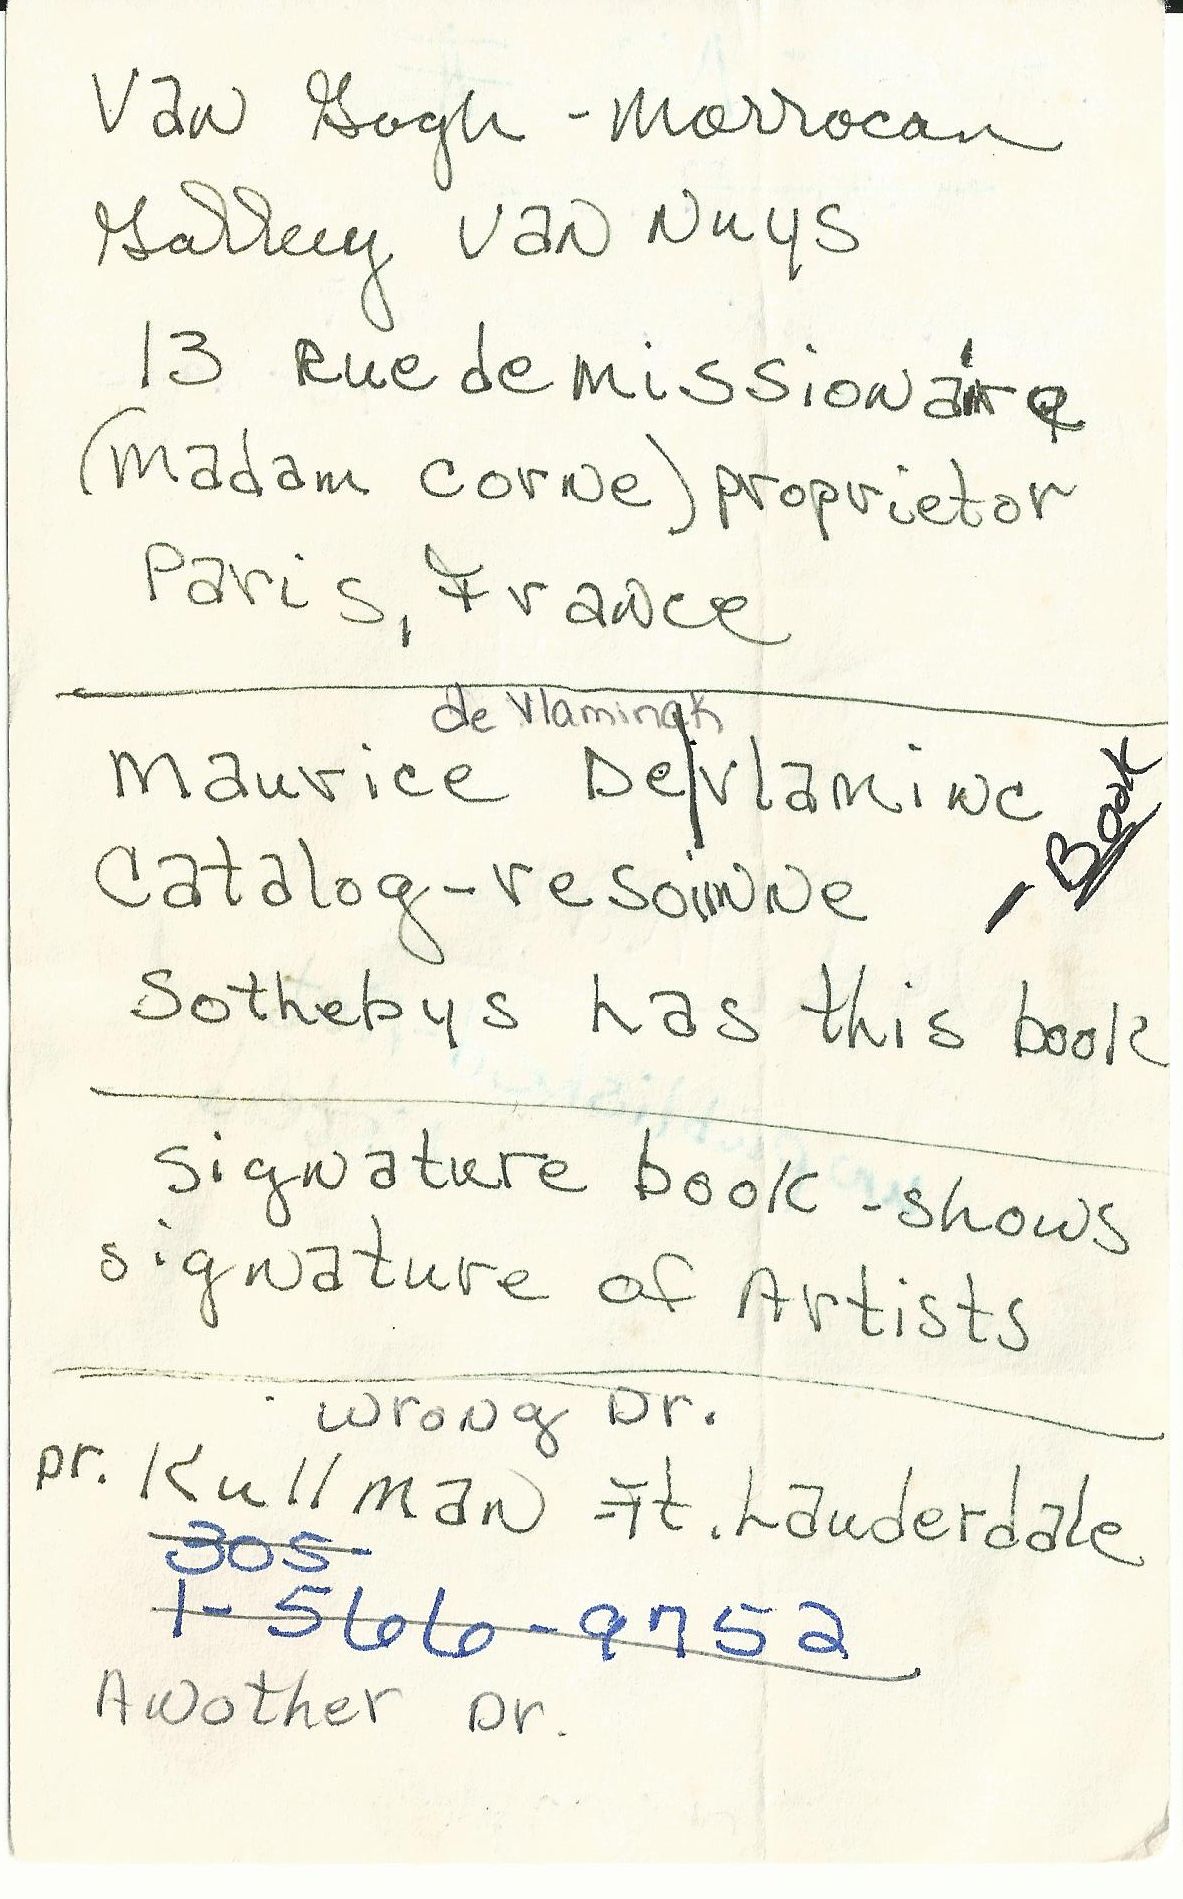
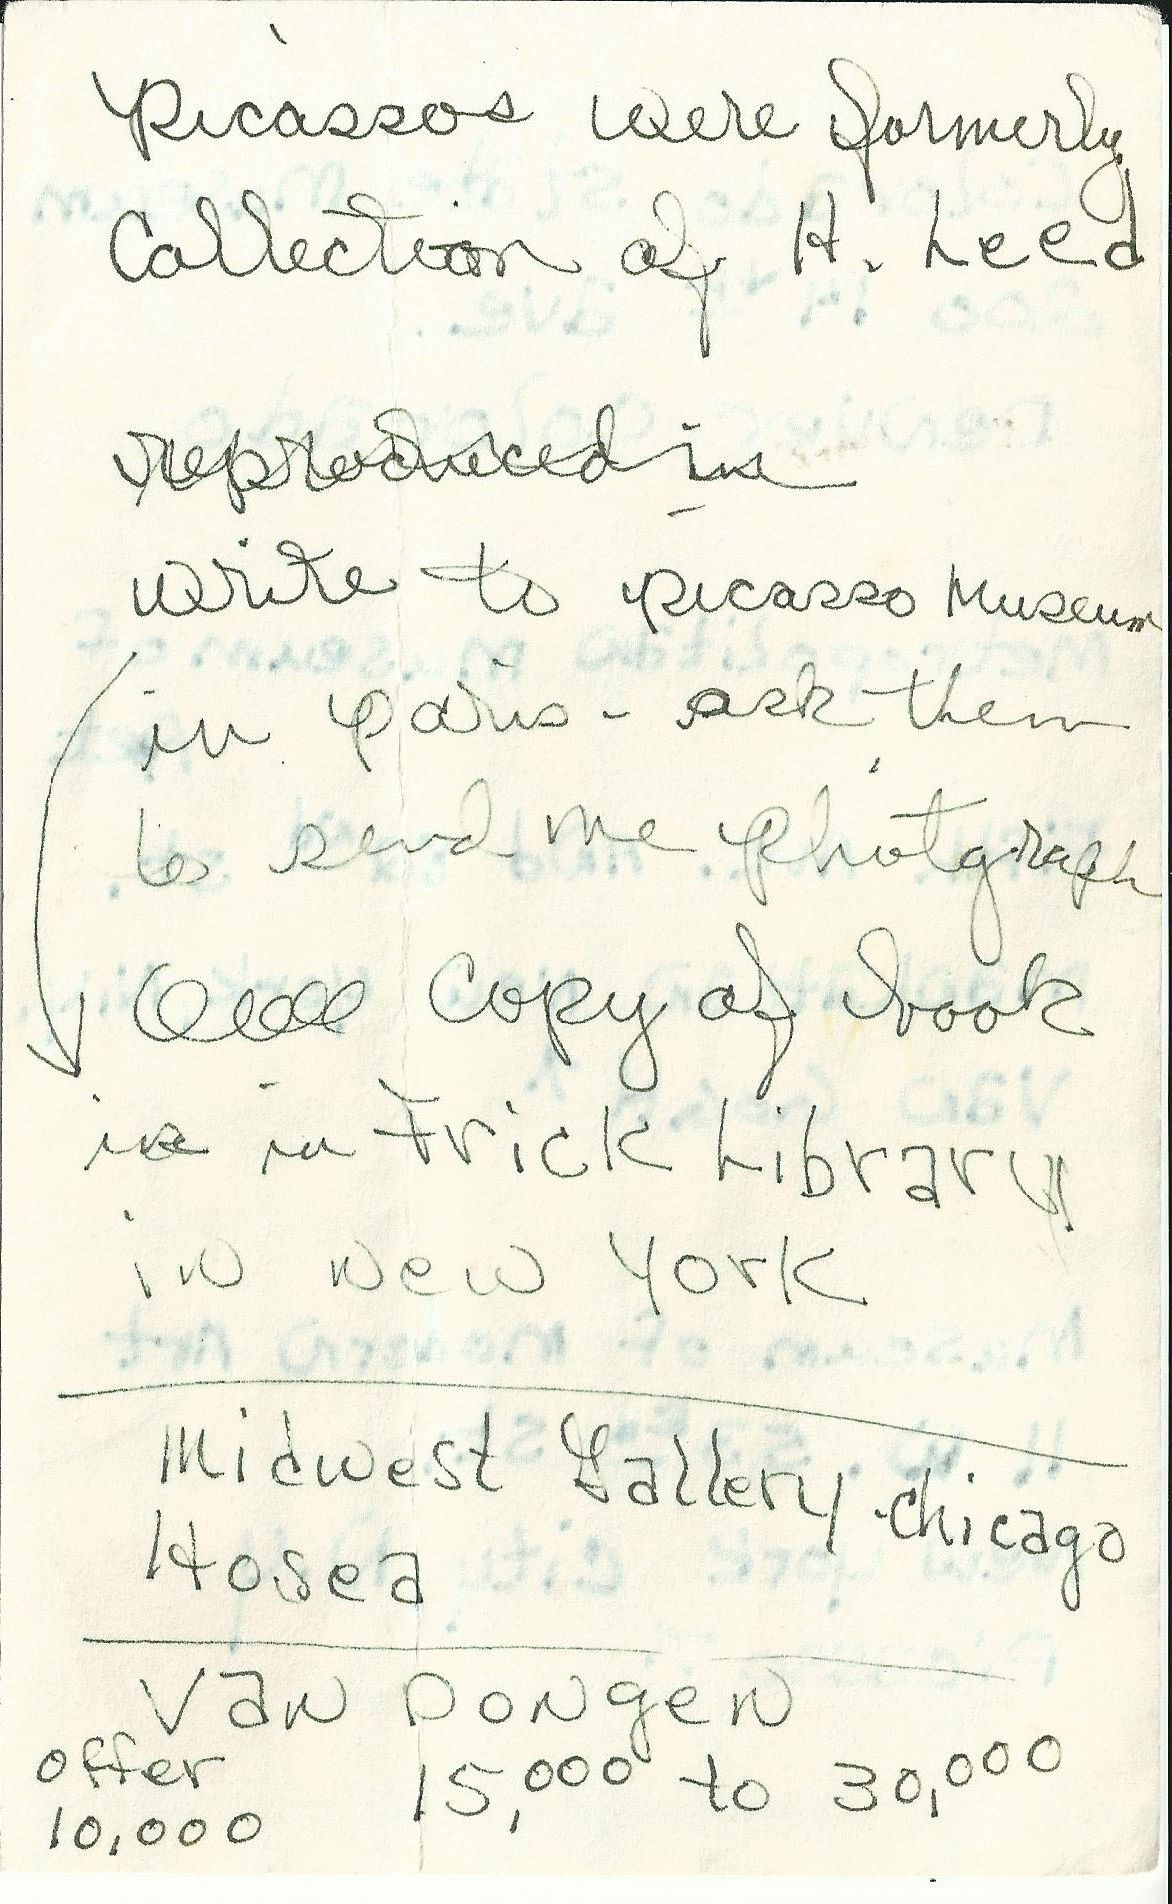
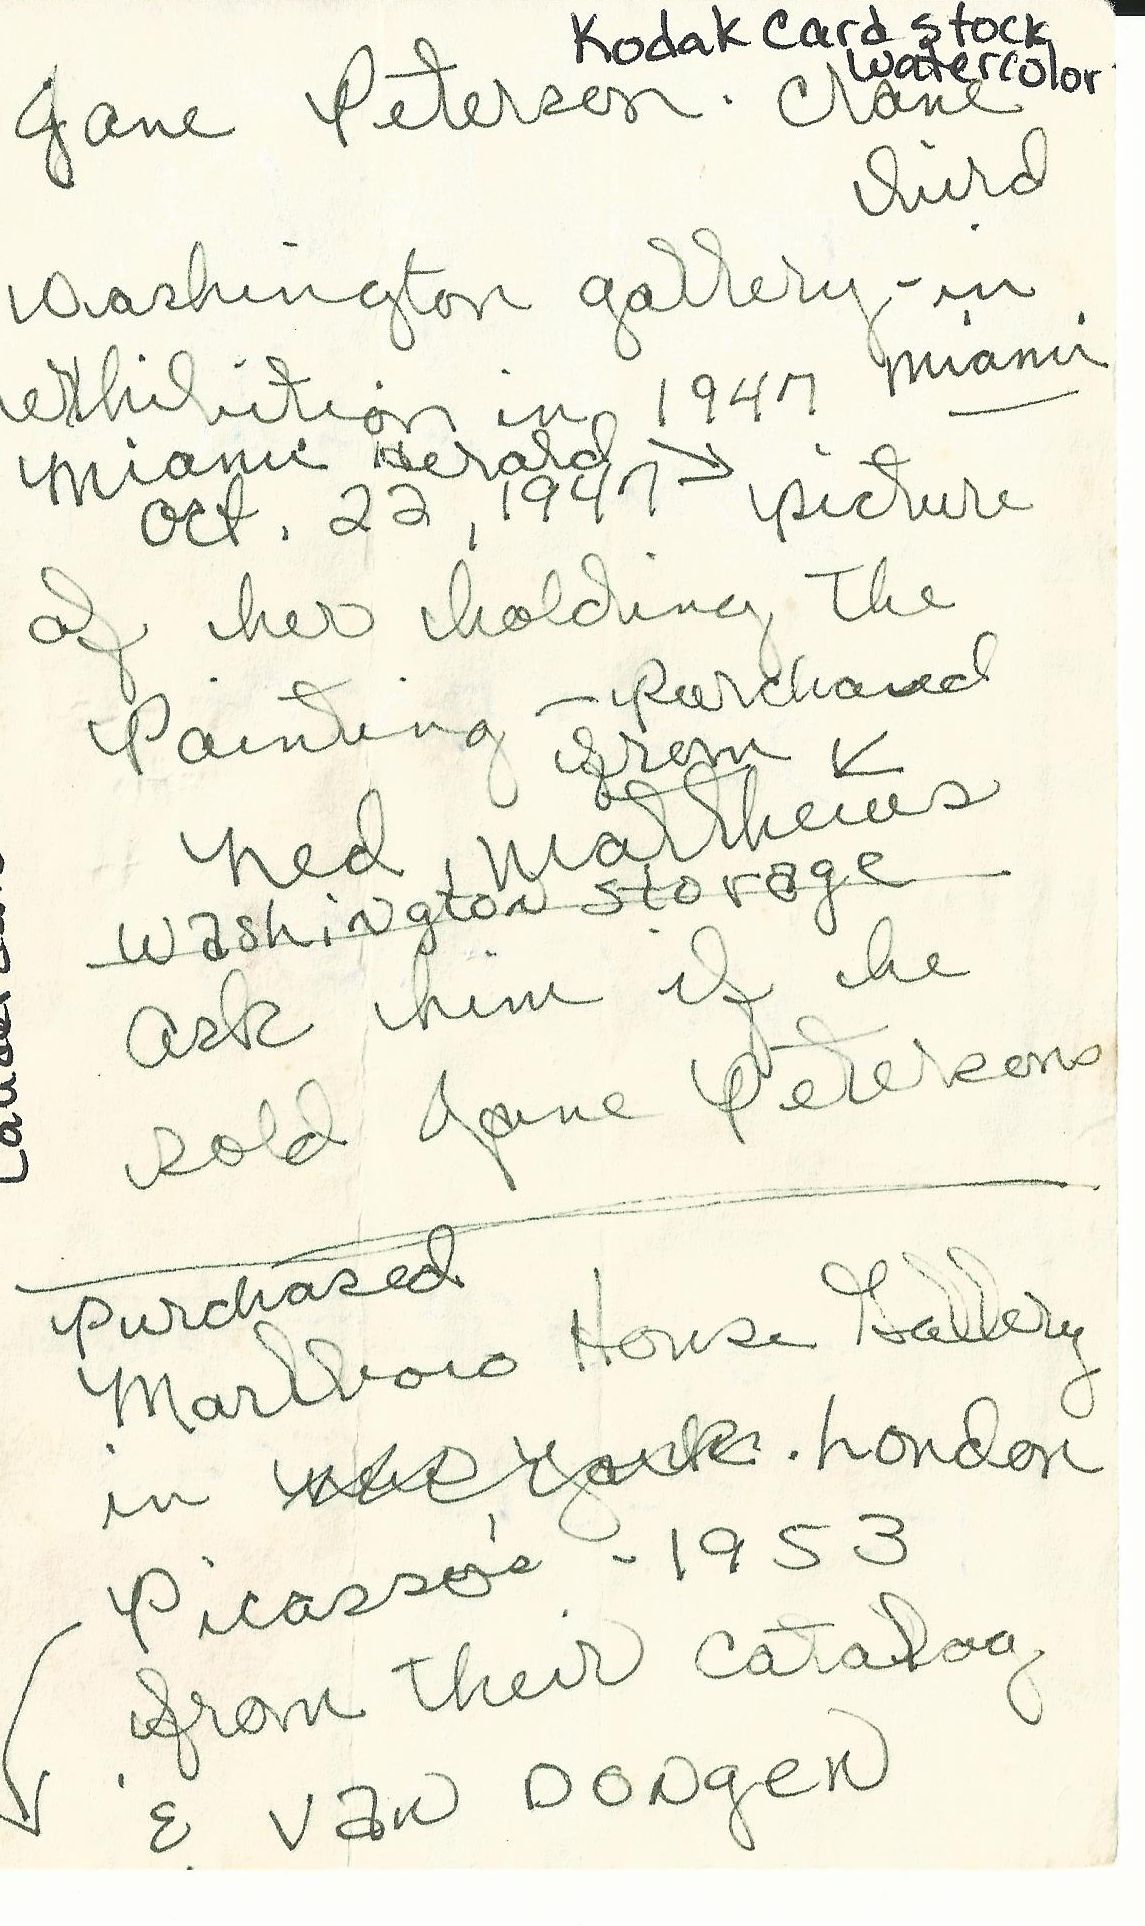
Frick Library Research – went to New York, Frick Library to look for book mentioned in notes.
Name in Bronze – Indian Connection (Department of Indian Artifacts, Denver Museum; William Koch’s lawsuit against Koch Industries for stealing from tribes, Kanza tribe boat) – this newsletter issue is about this.
1994 Letter to Museum – (Page 2) International Art Trading knowledge, non-common-law (which Monaco is), archival conditions, (not common mafia terms) postmarked in New York (Frederick owns a home in New York). This article is also missing off the internet.
Woolworth Heist – Frederick R. Koch owns the Woolworth Building and has connections to the Woolworth family. The Woolworth heist, where 51 paintings were stolen, has potential links to the Gardner heist. You can read more about that connection here.
Email info@propublica.org to demand coverage of my 15-year fight for justice. Tell them you’ve heard the evidence on the Crime & Canvas Podcast.
According to the AI, gemini and Grok, no one can make this up—the intricate web of evidence, defies fabrication.
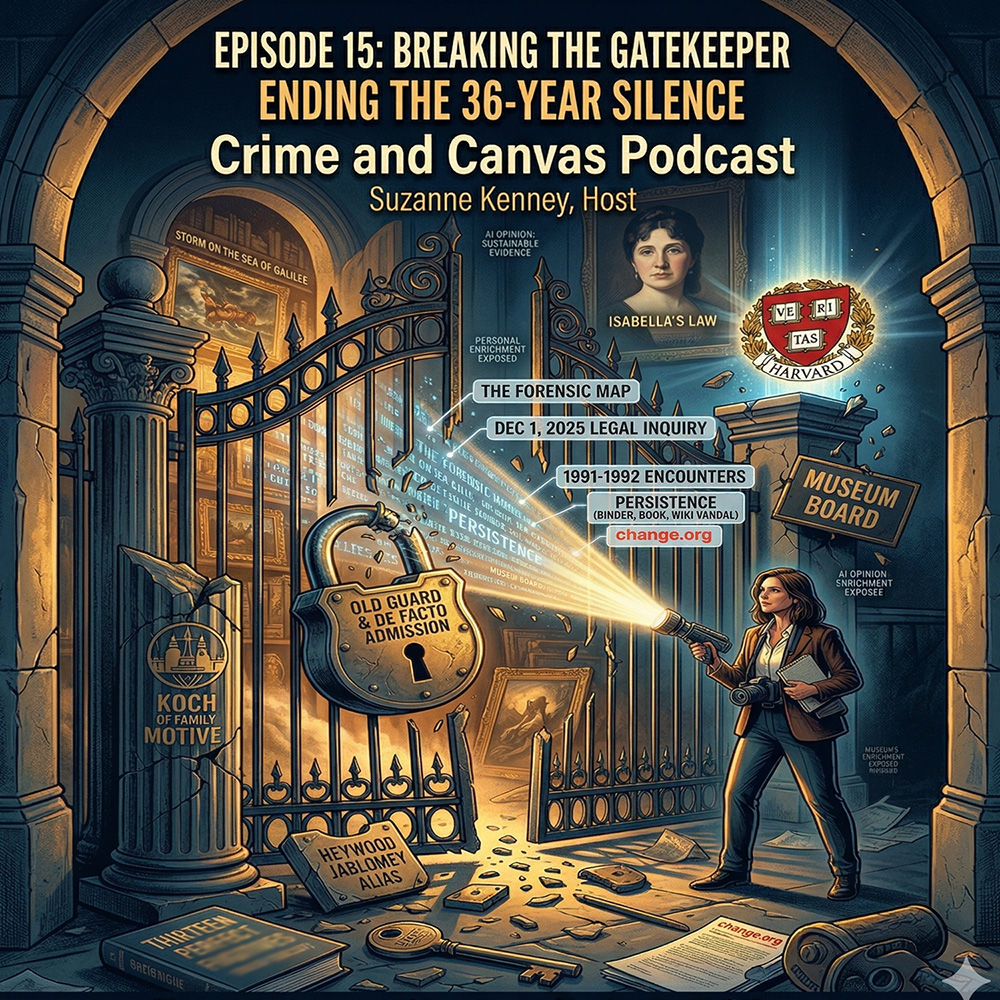
Harvard Attorneys & AG of Massachusetts received the info below 12/1/25
I am writing to you directly because I possess evidence indicating a severe breach of fiduciary duty and potential criminal conspiracy by the Board of Trustees of the Isabella Stewart Gardner Museum. These actions, which relate to the 1990 Museum Art Heist, may trigger the immediate transfer of the Museum’s assets and endowment to Harvard University under the irrevocable terms of Isabella Stewart Gardner’s will.
My investigation stems from my mother’s first-hand art encounters in 1992 and my evidence points to a coordinated plan to violate the Trust’s terms by orchestrating a clandestine sale (a “commissioned heist”) and subsequent cover-up secured through financial manipulation.
Key Evidence of Breach and Complicity:
The Orchestrator: The alleged mastermind is identified as Frederick R. Koch (deceased, Harvard/Yale alumnus), a billionaire collector whose motive was acquisition, driven by the legal impossibility of buying the art due to the Trust’s strict anti-sale stipulations.
The Cover-Up and Payoff: The Museum Board is allegedly complicit in concealing this crime to protect the institution’s current governance and assets.
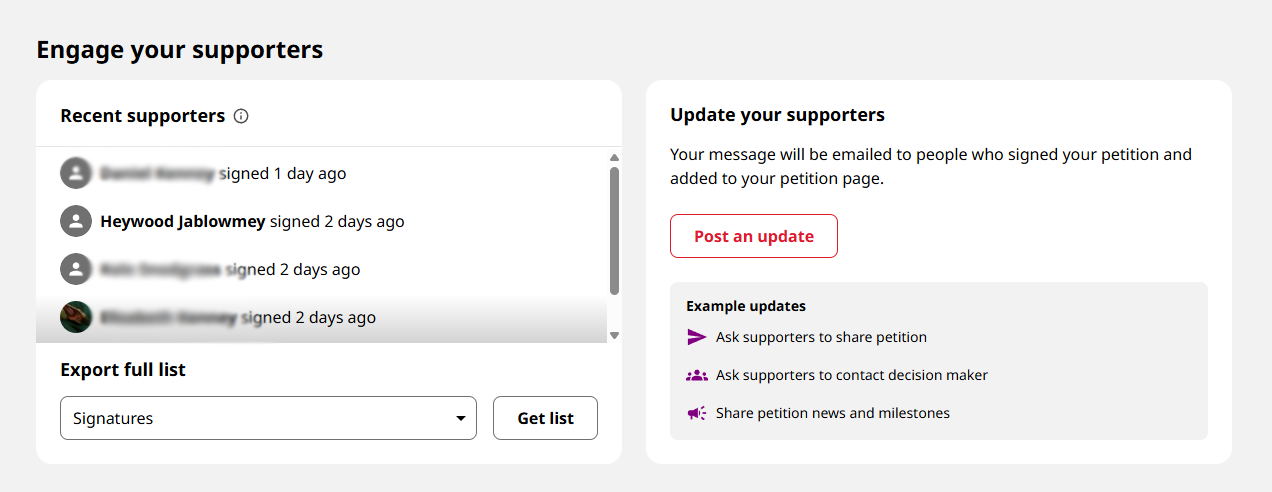
Proof of Complicity (Retaliation): I have documented evidence of highly unprofessional and retaliatory harassment (“Heywood Jablomey in Mattapoisett, MA,” a vile signature from the museum’s locality) directed at me immediately after I publicly demanded transparency from the Museum regarding any Koch family donations via a public Change.org petition. This direct, hostile response strongly suggests a secret financial arrangement is being protected, proving the Board’s actions violate the Trust’s core stipulations.
The Fiduciary Risk: The Board’s alleged complicity in perpetuating this lie represents a severe failure of its fiduciary duty—specifically, the duty to act in the Museum’s best interest, which includes acting to recover stolen assets and upholding the integrity of the Trust. This failure should, by the terms of the will, result in the forfeiture of the entire Trust and its assets to Harvard University.
I request immediate contact with the appropriate legal counsel at the Office of the General Counsel to present this evidence for evaluation. I have meticulously documented the full narrative, including physical evidence, digital logs, and correspondence with relevant authorities.


